Today is "Black Friday" and yes, I did participate in the madness. However, I participated at 6am instead of Midnight like the rest of the crazies! That being said I was able to squeeze in a couple of projects that I needed to complete as part of my holiday decorating.
First I completed decorating my $5 fresh balsam fir wreath that I purchased at Home Depot today. A while ago at a craft show I bought an adorable large wooden candy cane that I thought would be perfect on a wreath. And I also added some old bows that I have had literally forever, some LED lights and **POOF** I have an adorable wreath for all to enjoy!
Secondly I made a fabric shower curtain from some material I bought at 60% off at Jo-Ann's and some $1 ribbon. It adds a really nice touch to my drab bathroom (which is in desperate need of an over-haul).
This shower curtain was super easy, with 4 yards of material and 1 spool of grosgrain ribbon. All seams are measured at 1" and depending on how wide your shower is that would be the measurements for your ribbon placement. Happy Holiday's everyone!
Crafty Saving Mom is a blog devoted to saving money, crafting for the home and for your children, and giving a little sanity to all those Mom's that stay at home with their children!
Friday, November 25, 2011
Monday, November 21, 2011
What old is new...
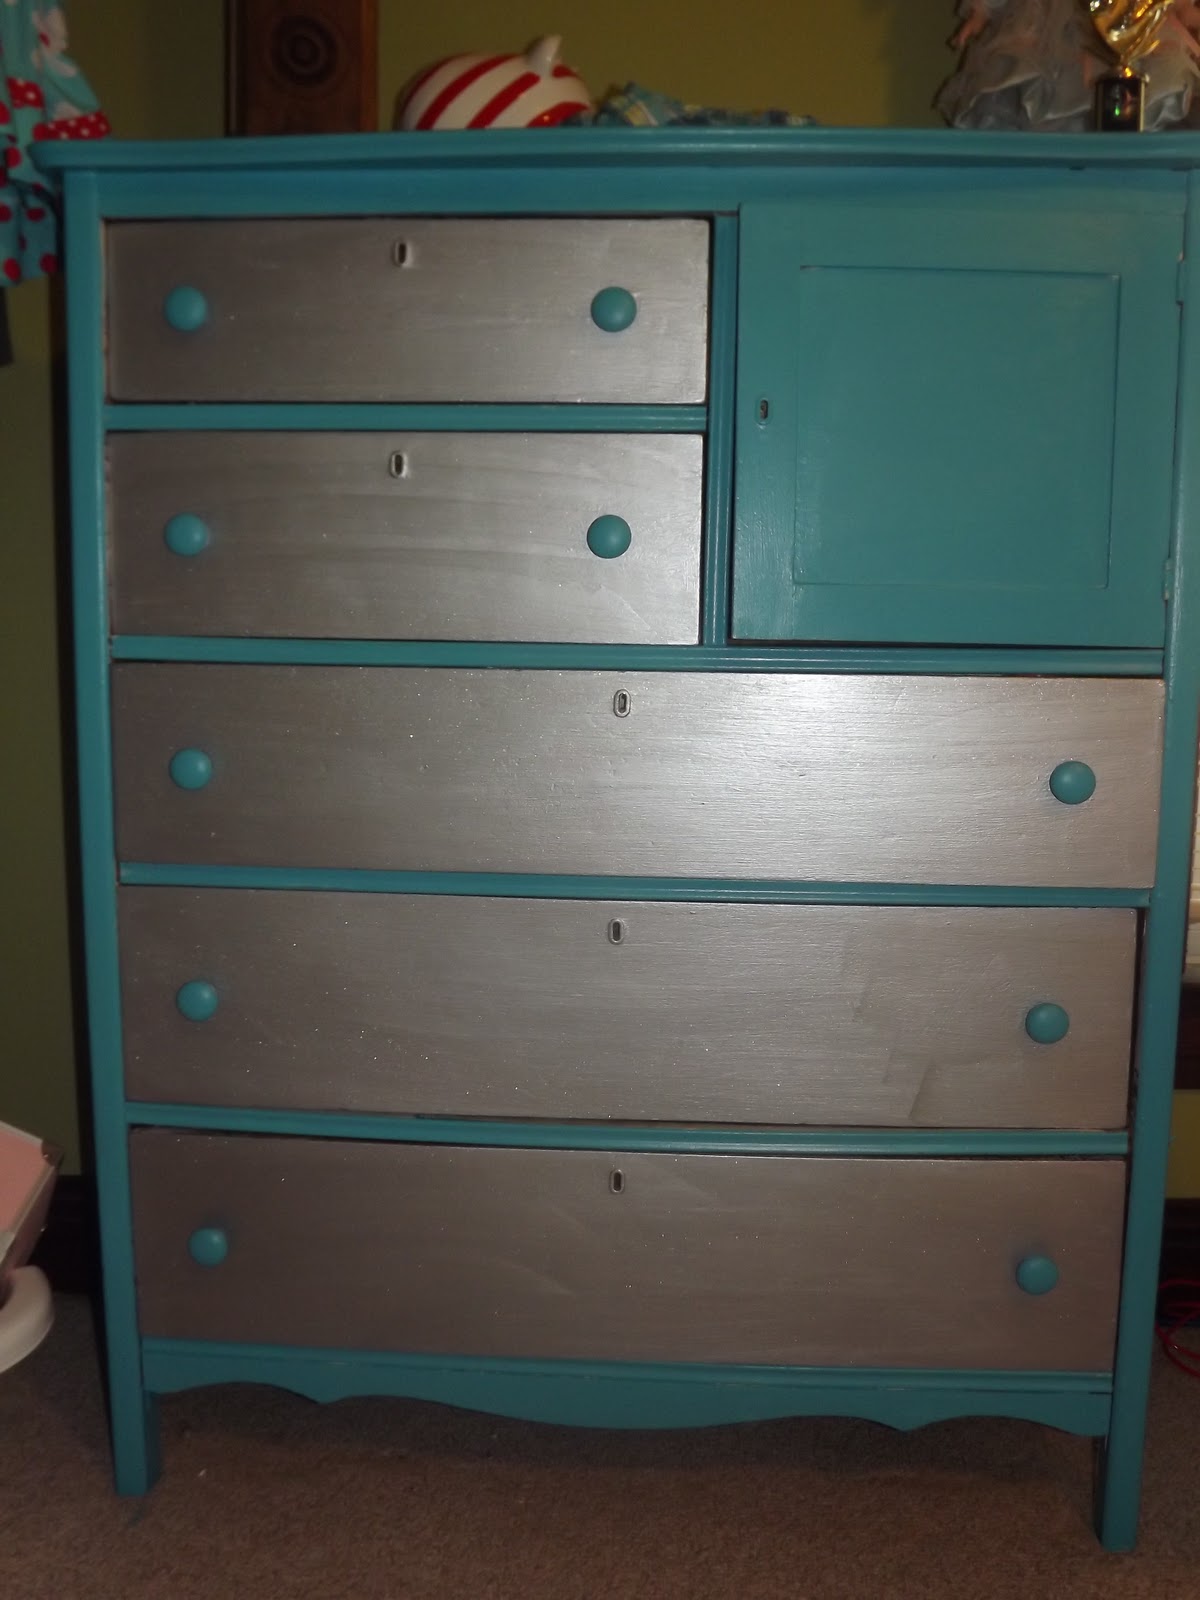
So, I know I haven't posted in FOREVER! And I do apologize, but I have been busy with school, dance, and getting ready for the holidays! But I did squeeze in a little time yesterday to finish a little project with my 10 yr. old. Having three girls I am always interested in doing things a little different and since I was recently handed down a dresser from my Aunt I thought it would be a great opprotunity to give it a face-lift. And since I was giving that dresser a face-lift I thought, why not give the other dresser a face-lift as well! Here is what the two dresser's looked like before...
So yesterday on our trek to Home Depot, we picked up some Turquoise (Disney), Metallic Silver, and Silver glitter paint (both from Martha Stewart). After a lot of hard work, new knobs, and several coats of paint, they girls both had brand new dressers! The glitter paint had a really cool effect, but was hard to capture on camera.
| This was the hand-me-down dresser from my Aunt. Still in good condition but desperately needed paint and new knobs. |
| This is an old dresser that was mine when I was a kid, and was in desperate need of a face-lift. |
| This is the "new" hand me down dresser! I think it turned out great! |
| I tried to get a close up to capture the glitter paint, but the picture does not do it justice. |
Wednesday, October 12, 2011
Homemade Turkey & Noodles
So, last week I made my very first attempt at cooking a turkey. It actually turned out great, and seeing as I bought the turkey around Christmas last year for less than $5 it has made a great meat for lunches! Talking to my husband last night, he proclaimed he is tired of eating turkey sandwiches and asked if I would make turkey and noodles for dinner tonight. Keeping in mind that I have NEVER made homemade noodles and really don't have any luck cooking them, this should be interesting! Looking online I found a great Chicken and Noodles recipe at The Pioneer Woman. She has a great website with full tutorials and recipes on how to make things and has really great ideas on home interior and general everyday life!
Here is the pictures of my final noodles, I probably should have cooked them a little longer but I thought they were delicious!
Tuesday, October 4, 2011
JELL-O Halloween Brain Mold
For this Halloween season JELL-O is offering a FREE Brain Mold for $2.95 shipped! Get yours while supplies last because they are going fast. These are great for a fun after school snack, halloween party, or just to creep out your kids! Follow the link here and will take you directly there.


Monday, October 3, 2011
Halloween Wreath
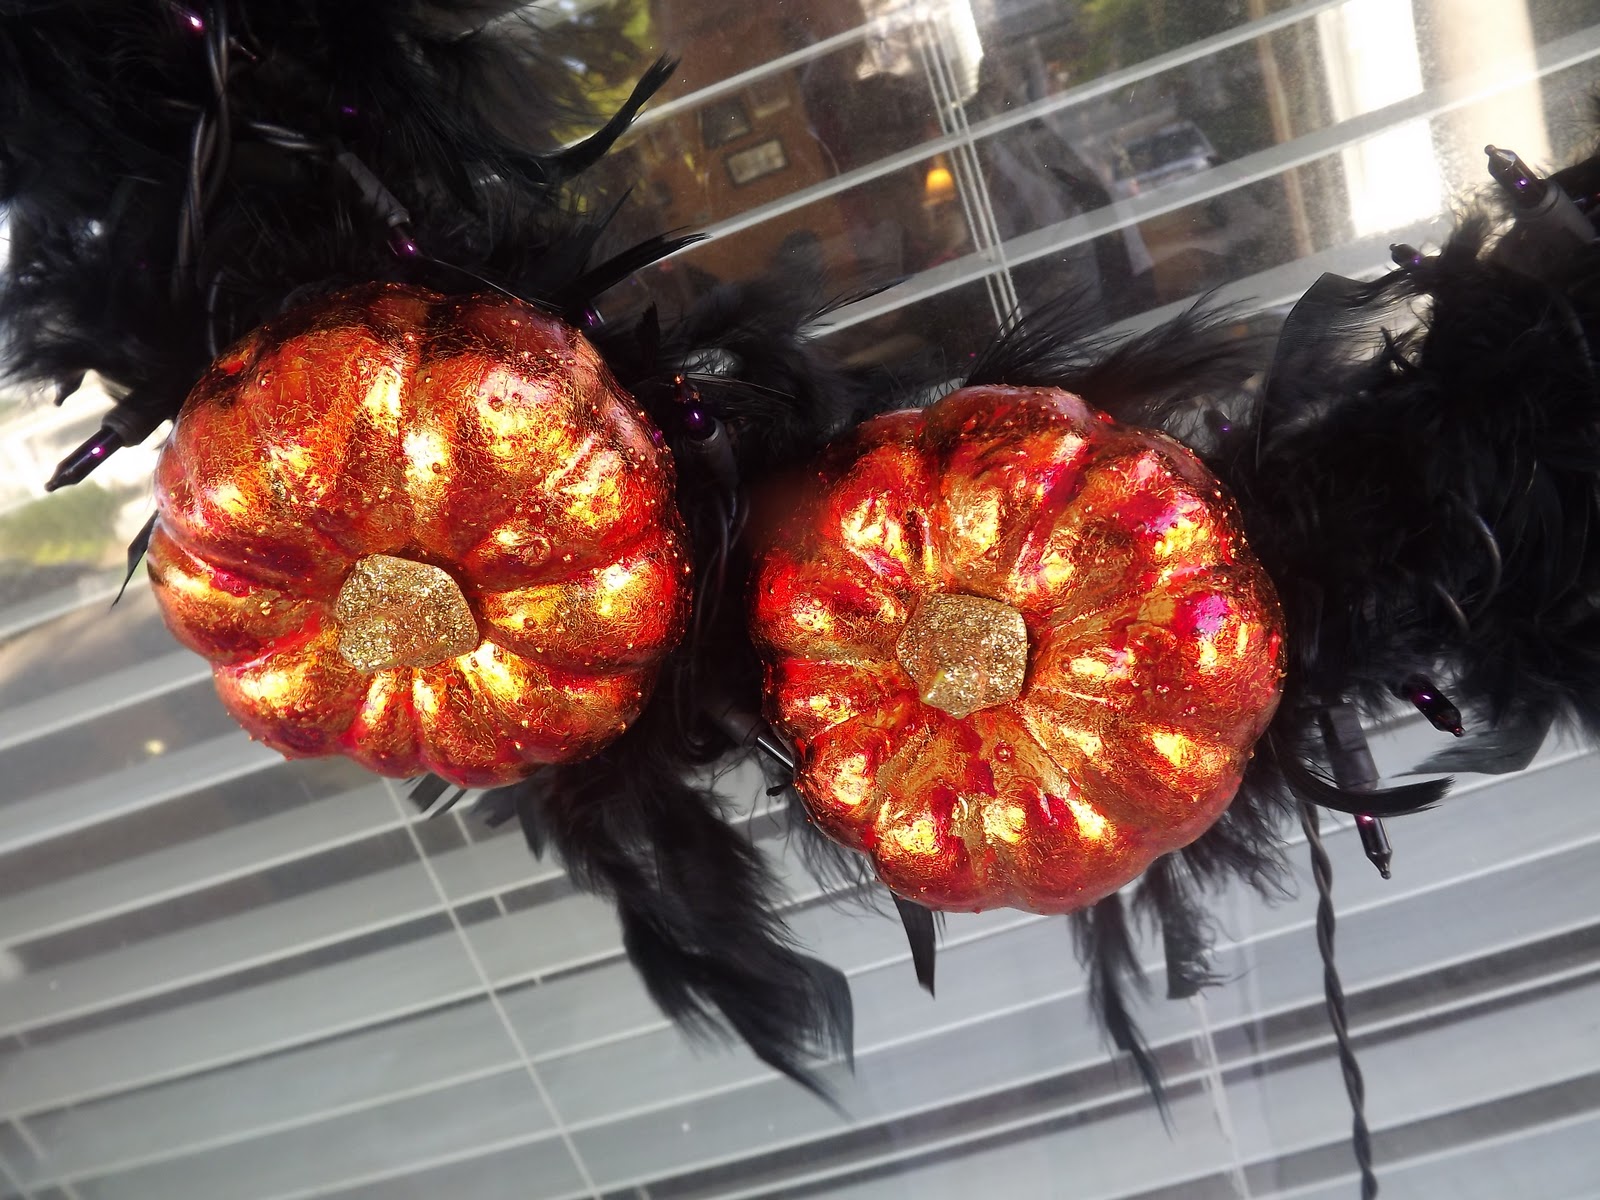
So, I know some of you have seen those wreath's that are made of feathers. And I refuse to pay $25 for one even though they are extremely cute. I decided to make my own concoction of one and I think it turned out really well. I might still add a bow to it, but I have yet to find some ribbon that I feel is worthy! I did also add some purple Halloween lights to add some spookiness!
Wednesday, September 28, 2011
Hello! Well over the weekend I was visiting my family in Alabama, and although I love visiting down there, I like being home. While down south, my SUPER talented Mom made Isabelle some new clothes. You can check her website out at Burps-n-Bows and she carries an array of children's and baby items for sale.
| This is Peppa Pig, it's one of my daughter's favorite shows. |
Also, I have been wanting to learn how to make the "hair poppies" that I see everyone wearing. And FINALLY I found a tutorial online to teach me how to make them. My first one turned out alright but I think my satin was too heavy.
But with the right material, I made two green flowers for my twin nieces.
I still have yet to finish the Halloween banner I started working on last week, but that is on my "to-done" list this week!
Wednesday, September 21, 2011
Two outta Three Ain't Bad...
Earlier this week I posted three projects that I had planned on finishing this week before the weekend. Well, Wednesday is here and I have two already finished! The first thing I finished was my very first knitting project which I was extremely excited about!
And, I have already started to work on my second dishcloth and have it almost half way done!
Now, the second project I wanted to finish was melting all of our broken crayons. I finally finished these with the help of my 4 yr. old Isabelle (her favorite thing is to take the paper off the crayons).
This was a super easy project, all you do is take off all the paper on your crayons (Crayola works best), and I used some old mini muffin tins that I had but you really can use anything. I have seen them where people have taken silicon molds in different shapes and wrapped them up with a new coloring book as a gift for a child.
Set your oven to 350 degrees and fill your tins with the broken pieces of crayons. Stick them in the oven and keeping an eye on them, when they are all melted move them immediately from the oven to the freezer. And... POOF!! You have brand new crayons!
Subscribe to:
Posts (Atom)